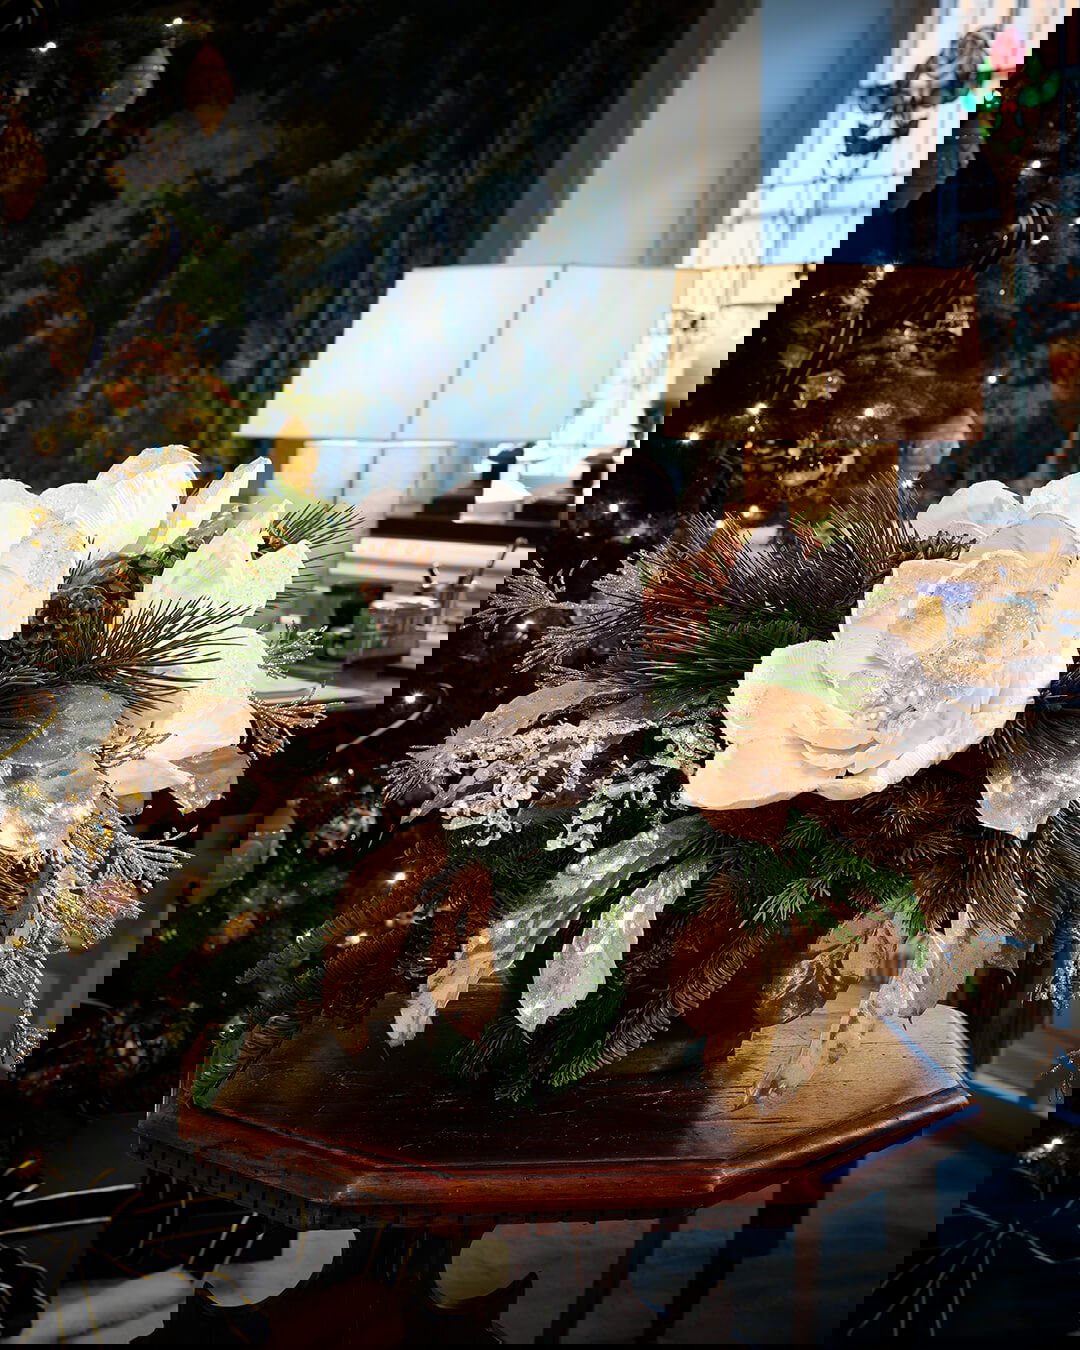
CHRISTMAS FLORAL CHARM
FLEURS DE NOEL COLLECTION
WINTER BLOOM LUXE
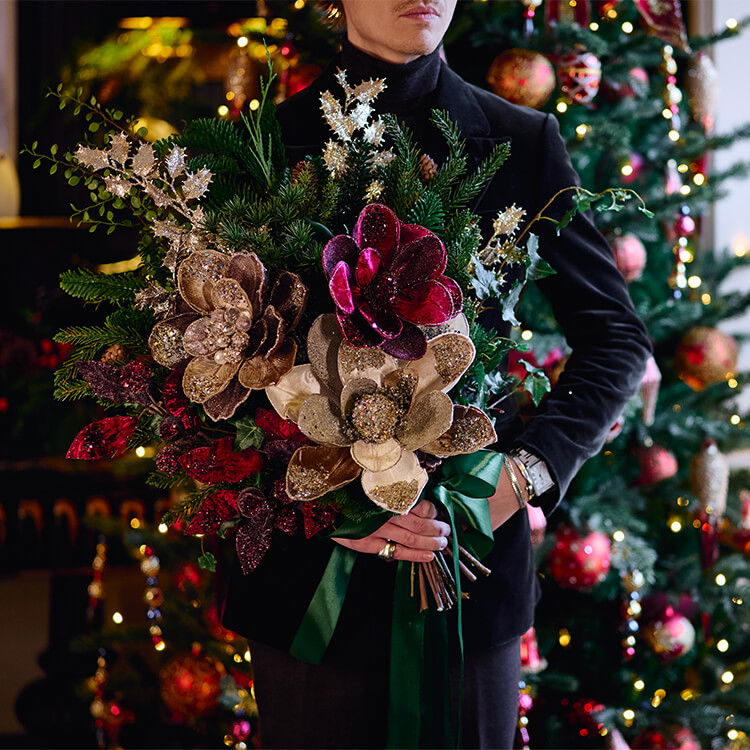
Blooming Christmas Magic
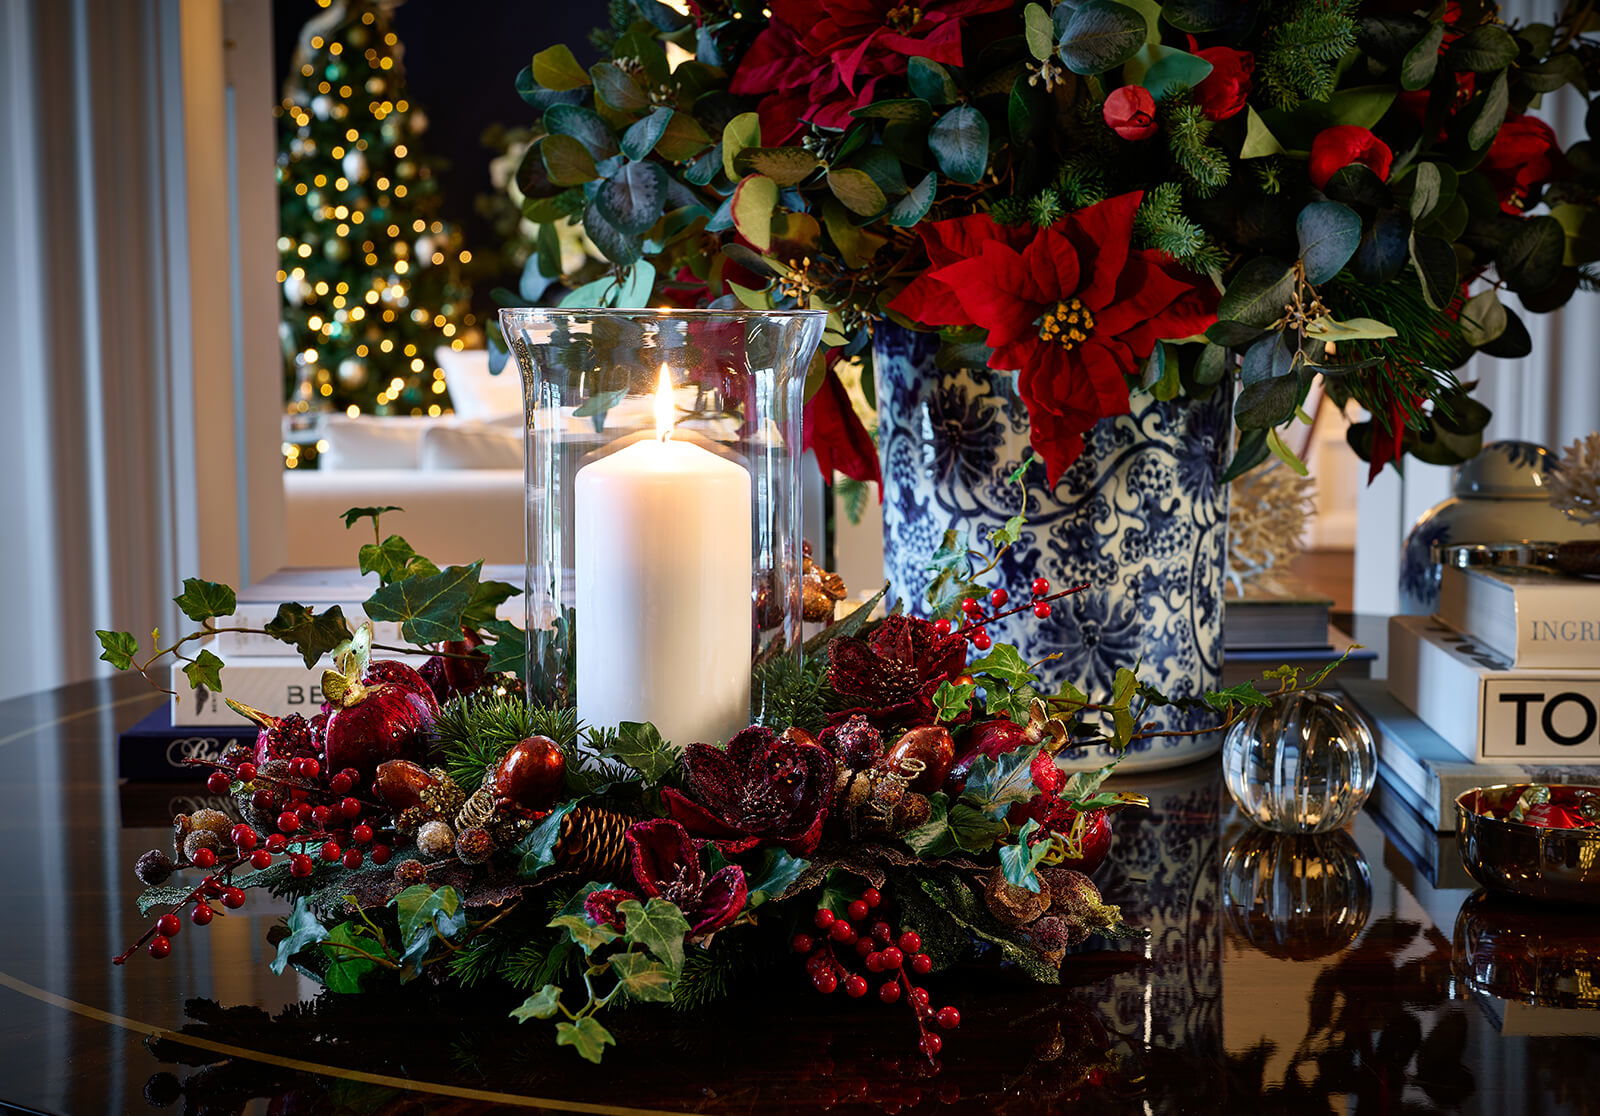
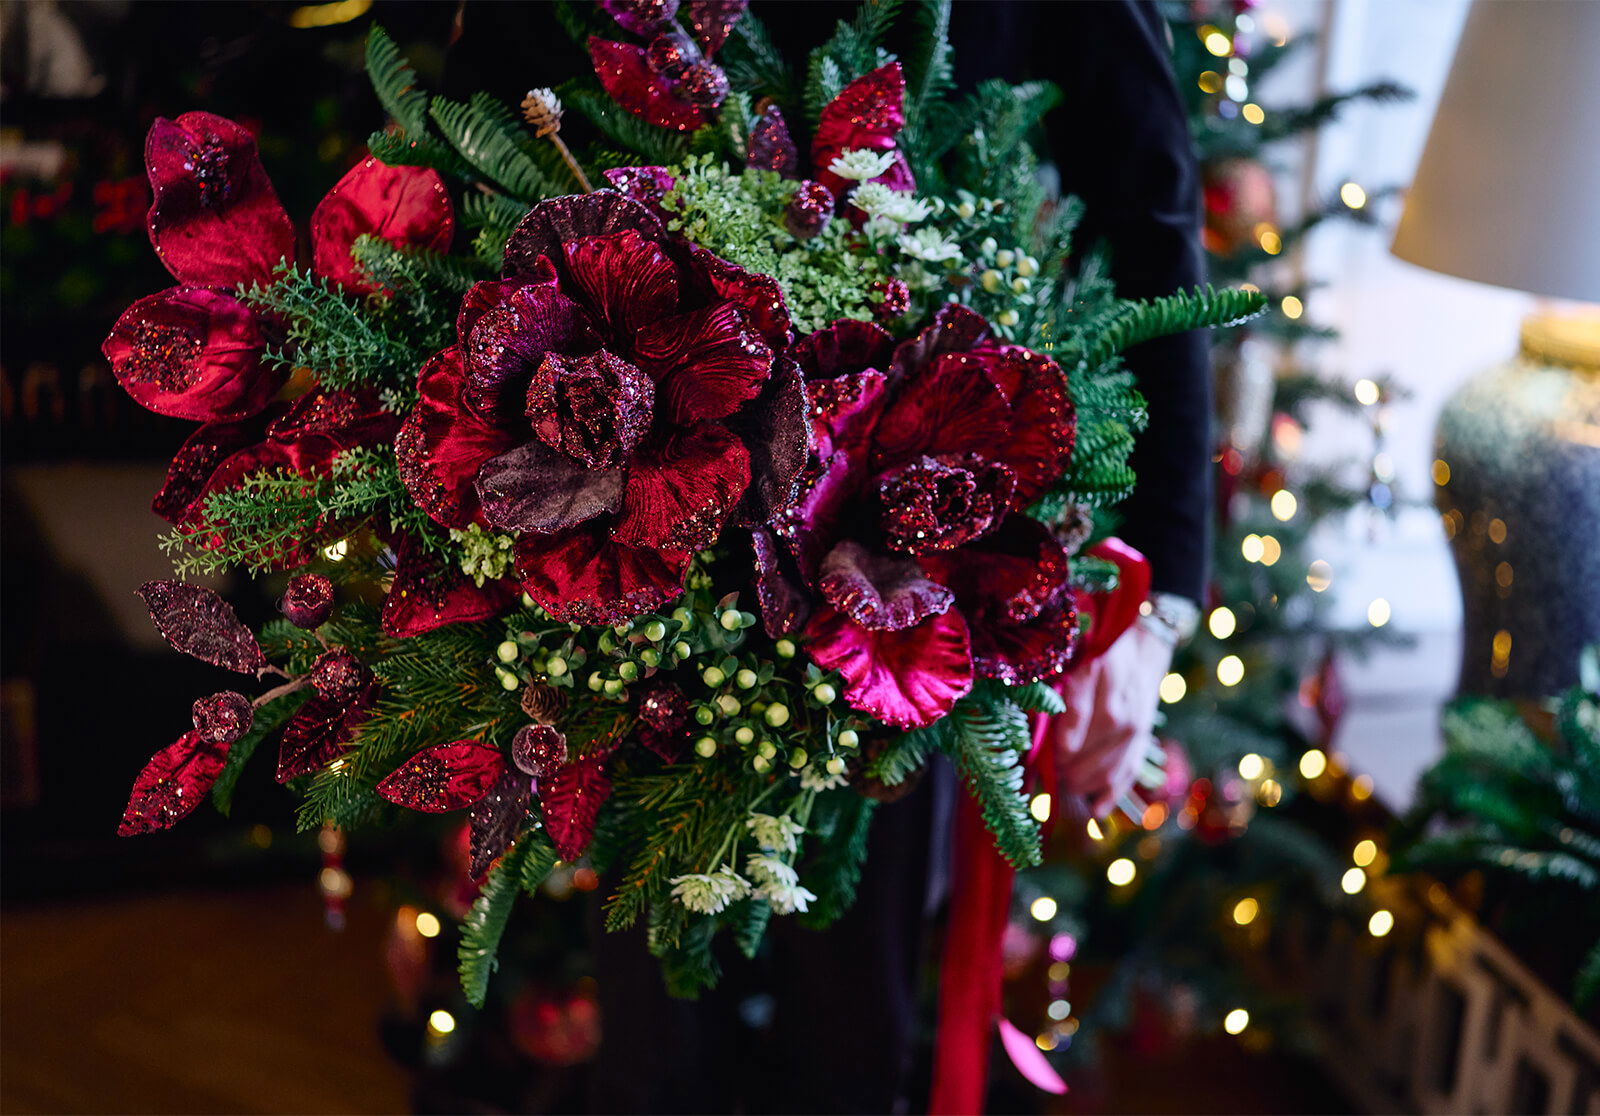
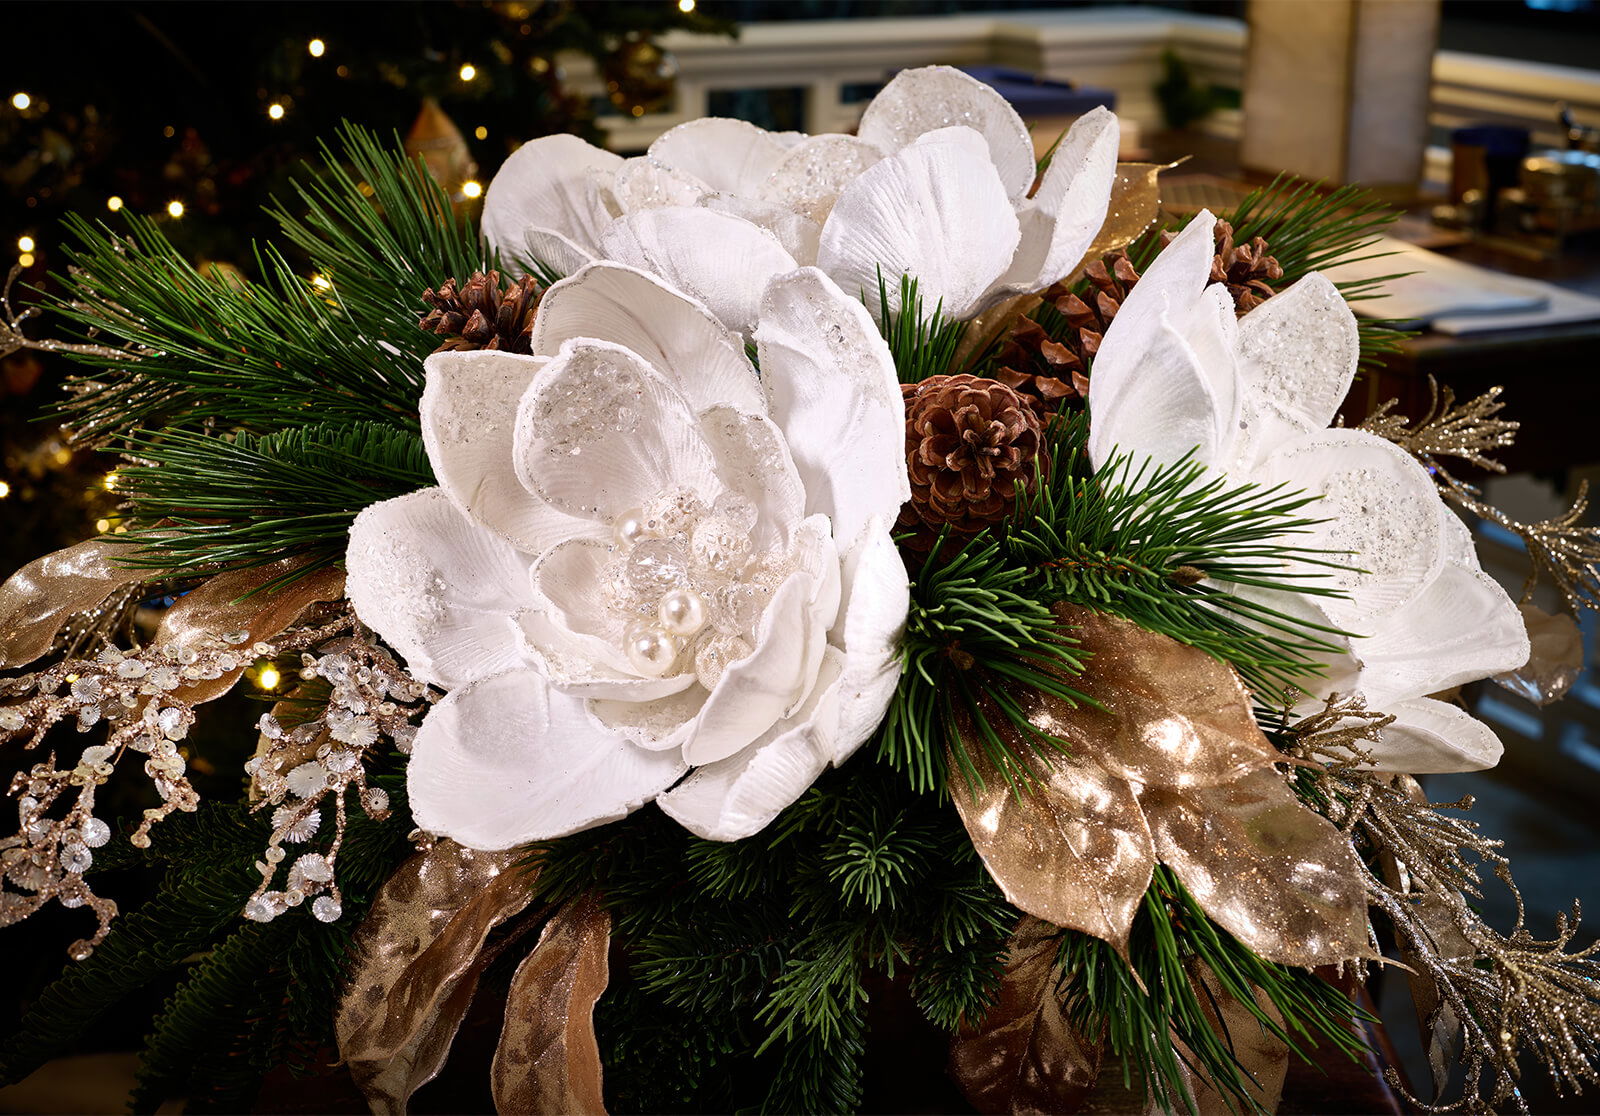
Let the season come alive with the Fleurs de Noel Collection. This year, we’re seeing a strong desire for lush, floral decorations that bring volume, elegance, and a personal touch to holiday interiors. Our magnolias, dogwood blossoms, poinsettias and shimmering branches are crafted to embody this style in a timeless, sophisticated way.
Each flower is designed to catch the light and fill the room with a soft, festive glow. Silky petals, pearl-like details and subtle sparkle make them a natural addition to the tree, a wreath, or a grand Christmas arrangement.
PREPARATIONS
Before you begin
It’s good to know that the flowers and branches in the Fleurs de Noel collection are often delivered slightly compressed to protect them during transport. Gently unfold the petals before you start, and bend the stems to give them a more natural look. Each stem contains a thin wire that makes it easy to shape them as needed. Bend carefully, especially near the tips where they’re a bit more delicate.
Shape the flowers by starting with the outer petals and working your way inward. Then gently bend the petals outward to create a fuller, more natural appearance.
Products pictured
Step by Step
Preparation
• Attach the grape clusters to the holly branches with red berries.
• Trim off the small white flowers, leaving about 10 cm of stem.
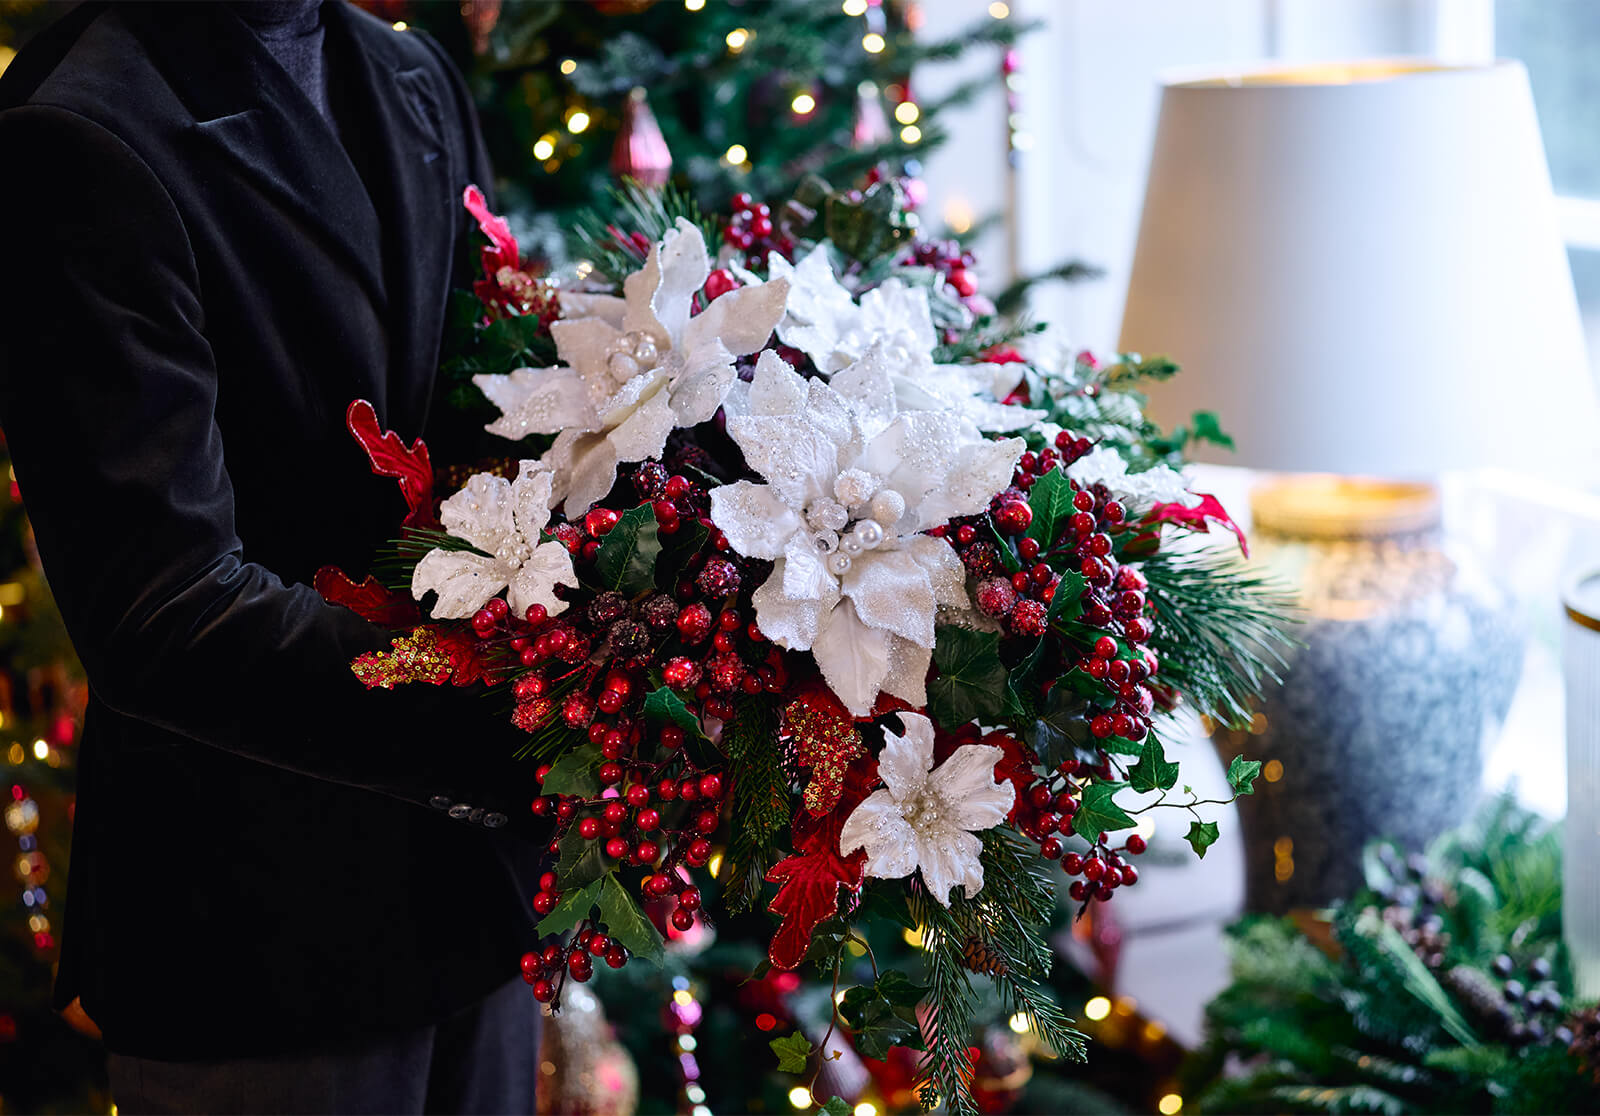
Build the bouquet
• Hold the three large white poinsettias in a triangular shape.
• Add the red holly branches and grape clusters all around.
• Continue by tucking in three spruce branches for fullness.
• Fill in with the remaining branches.
• Finish with the deep velvet-red leaves.
Shape & secure
• Adjust and bend the branches until the bouquet looks even and well-balanced.
• Tie the bouquet tightly with a cable tie or floral wire.
Final touches
• Attach the small white flowers into the spruce branches from underneath so the base is hidden.
• Trim the stems to the same length and adjust to suit your vase.

Products pictured
Step by Step
Build the Base
• Lay the sturdy spruce branch on the table — this will be the center and can extend slightly beyond the rest.
• Place the other spruce branches on each side so that the stems meet.
Add Flowers
• Continue by layering flowers on top, with greenery in between.
• Tuck in the shimmering branches so they peek out just beneath the foliage.
Secure & Shape
• Tie the stems tightly together using a cable tie or floral wire.
• Trim the stems so they’re all the same length for a more polished, intentional look.
Finishing Touches
• Tie a beautiful bow around the binding point and let the ribbons fall gracefully.
• For extra fullness, add a second bow on top — ideally with loops in different sizes.
Products pictured
Step by Step
Build the Base
• Place the wreath around the lantern.
• Cut the branches into smaller pieces and tuck them into the wreath all the way around.
• Add a mix of different varieties for richness and depth.
Shape & Finish
• Let a few branches hang slightly over the edge for a soft, natural drape.
• Continue until the wreath feels full and evenly balanced all the way around.
Products pictured
Step by Step
Build the Base
• Lay three sturdy spruce branches on the table in a plume shape, with the center branch slightly longer.
• Add more spruce branches in the gaps to widen the arrangement.
Add Flowers
• Insert the flowers on top, with greenery in between for fullness.
• Place the deep burgundy leaves so they peek out from beneath the greenery.
• Let the lime-green flowers peek out just below the larger burgundy ones to enhance the contrast.
Secure & Shape
• Tie the stems tightly together with a cable tie or floral wire.
• Trim the stems to the same length for a more refined, intentional look.
Finishing Touch
• Tie a beautiful bow around the binding point and let the ribbons fall gently for an elegant finish.
Products pictured
Step by Step
• Place the wreath around the edge of the pot — it provides support and keeps the flowers from drooping.
• Cut a piece of foam and press it firmly into the pot to anchor the stems.
• Cut the branches into smaller pieces using heavy-duty cutters (except the pine branches, which should remain whole).
• Start by pressing three pine branches into the foam.
• Position the white magnolia blossoms so they sit securely.
• Fill in with the remaining branches between the flowers, covering any gaps for a full, beautiful look.
Highlight the Details
• Tuck a few branches into the wreath around the pot as well — this lets the spruce and gold leaves peek out nicely beneath the flowers.
• Finish by placing a few pinecones around the arrangement.
Products pictured

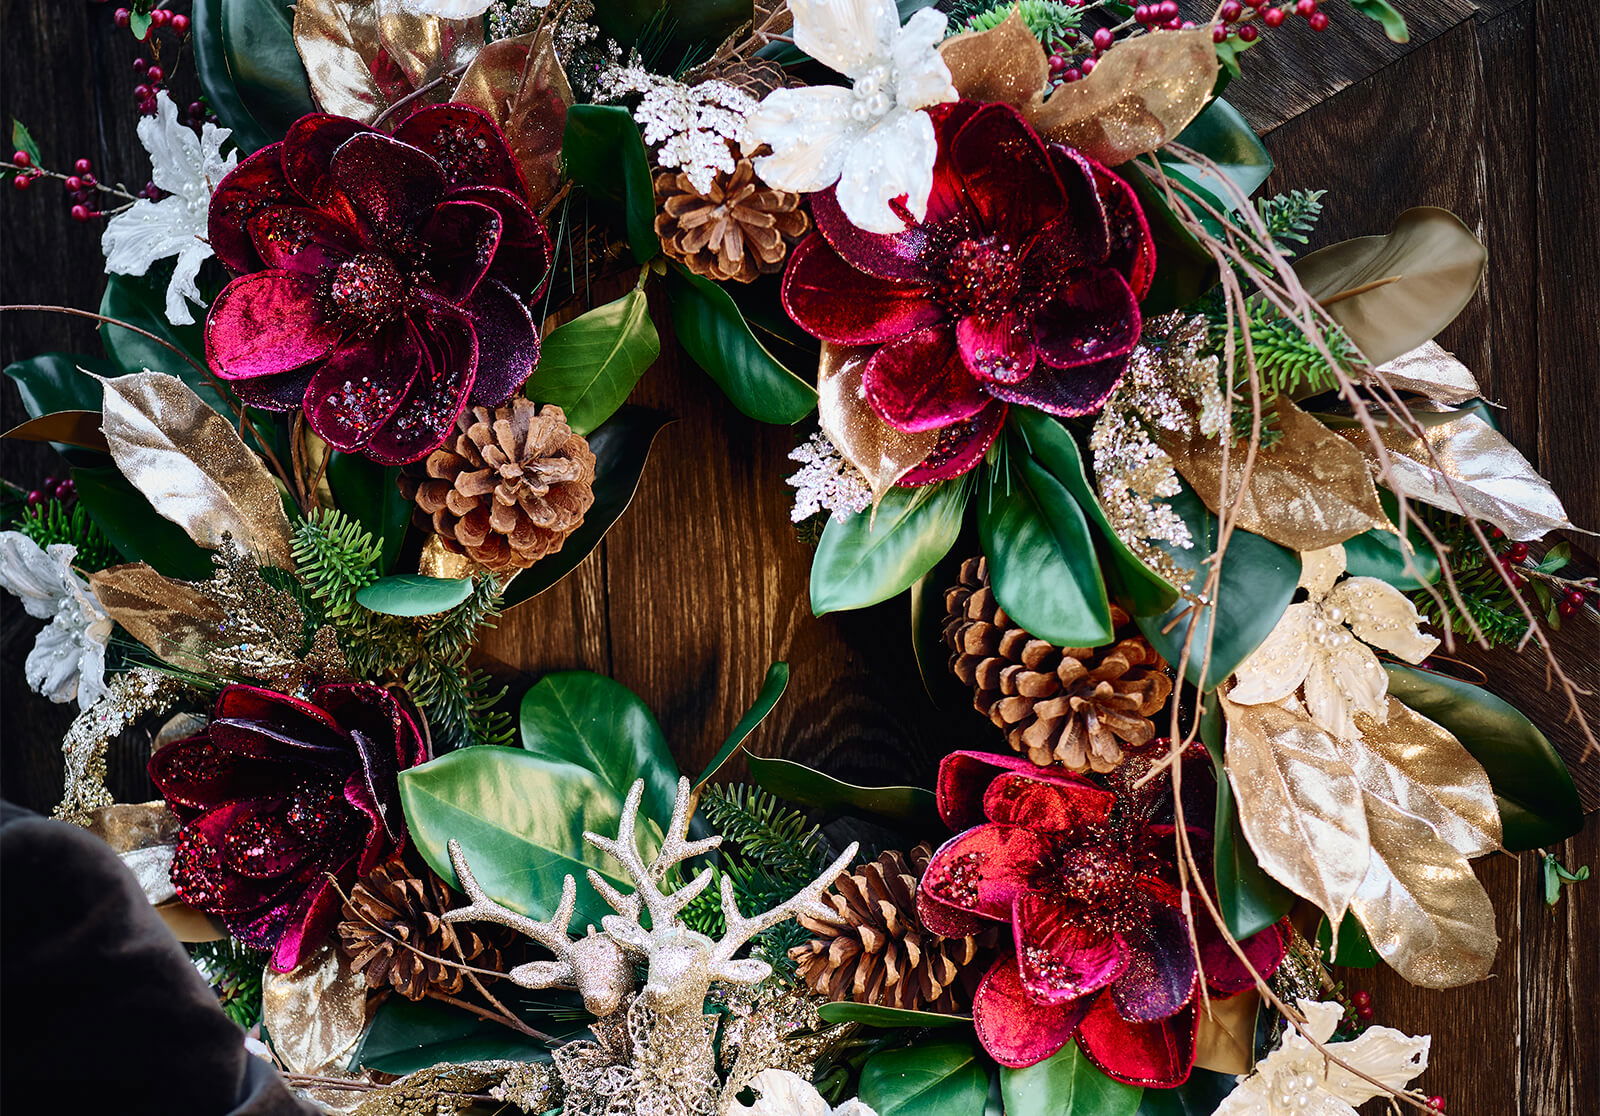
Step by Step
Preparations
• Trim the leaf, flower, and berry branches into smaller pieces.
Attach the Decorations
• Secure the branches to the back of the wreath using cable ties or floral wire.
• Make sure the attachment points are hidden beneath leaves, cones, and greenery for a clean, polished look.
• This hidden fastening keeps everything firmly in place — even when the wreath is hung on a door.
Finishing Touch
• Place a few glittery reindeer in the center of the wreath.
• Tie a beautiful bow with ribbon as the final detail.
Products pictured
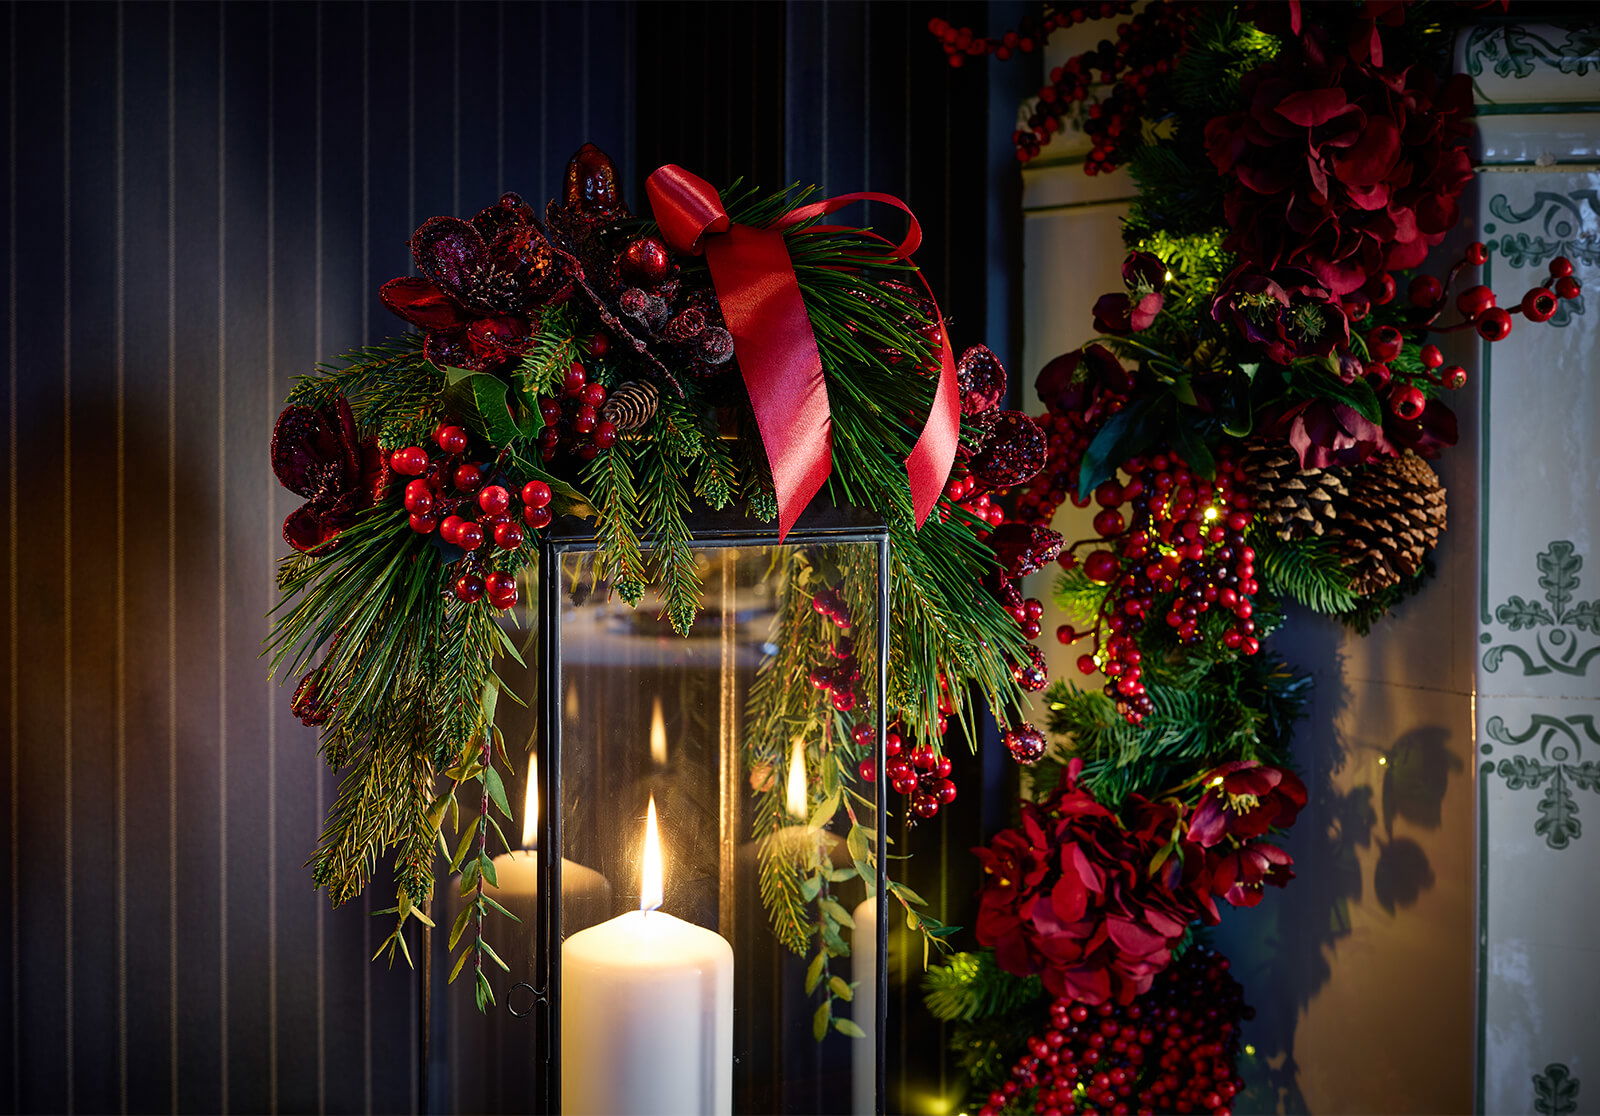
Step by Step
• Trim the stems of the spruce branches.
• Tuck them under the handle of a suitable lantern, facing in opposite directions.
• Secure them tightly with a cable tie or floral wire, then bend the branches so they drape softly along the sides.
Build the Shape
• Trim the stems of the deep burgundy acorns.
• Attach them to the spruce branches in three different directions to create volume and an even, balanced look.
Fill the Arrangement
• Cut the remaining branches into smaller pieces.
• Attach the pieces around the top — let some hang down, others stand up, or peek out from underneath.
• Fill every gap and hide all attachment points beneath needles and leaves for a clean, seamless finish.
Finishing Touch
• Tie a beautiful bow in place and let the ribbons fall for an elegant effect.

Products pictured
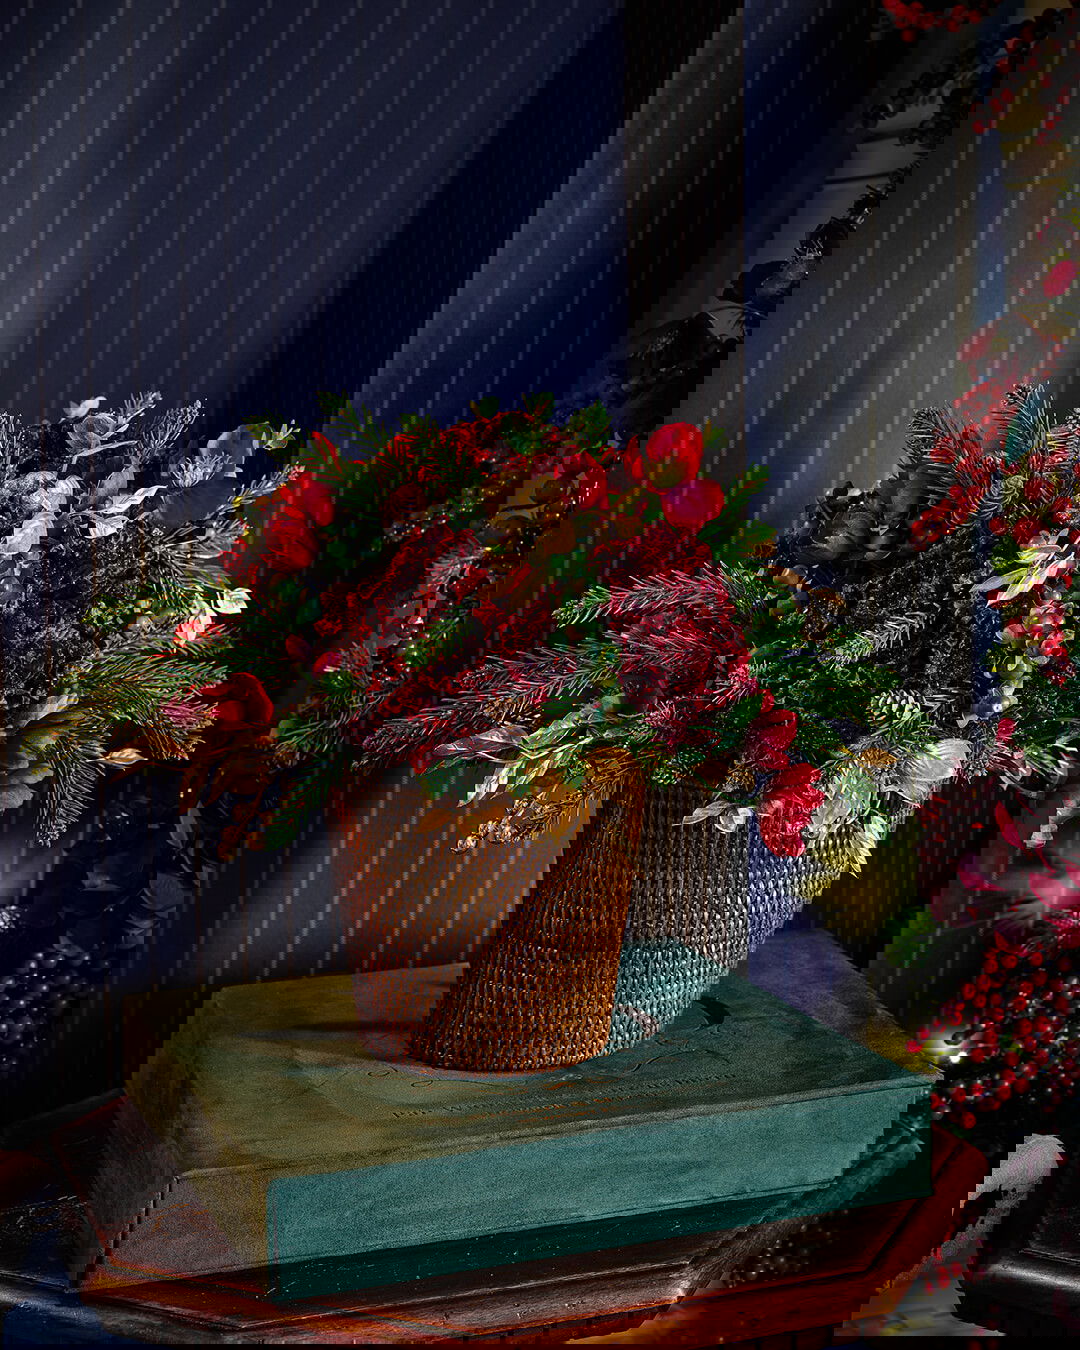
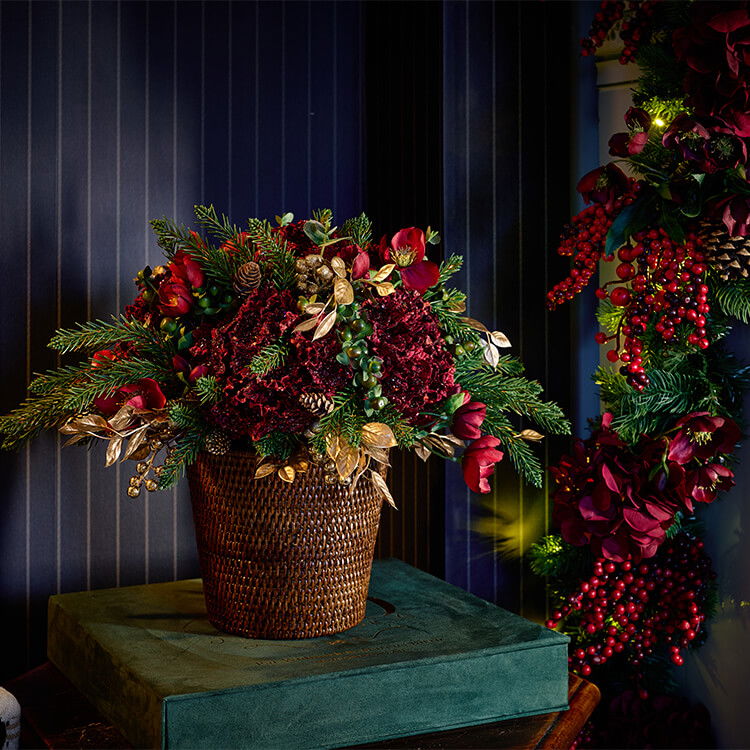
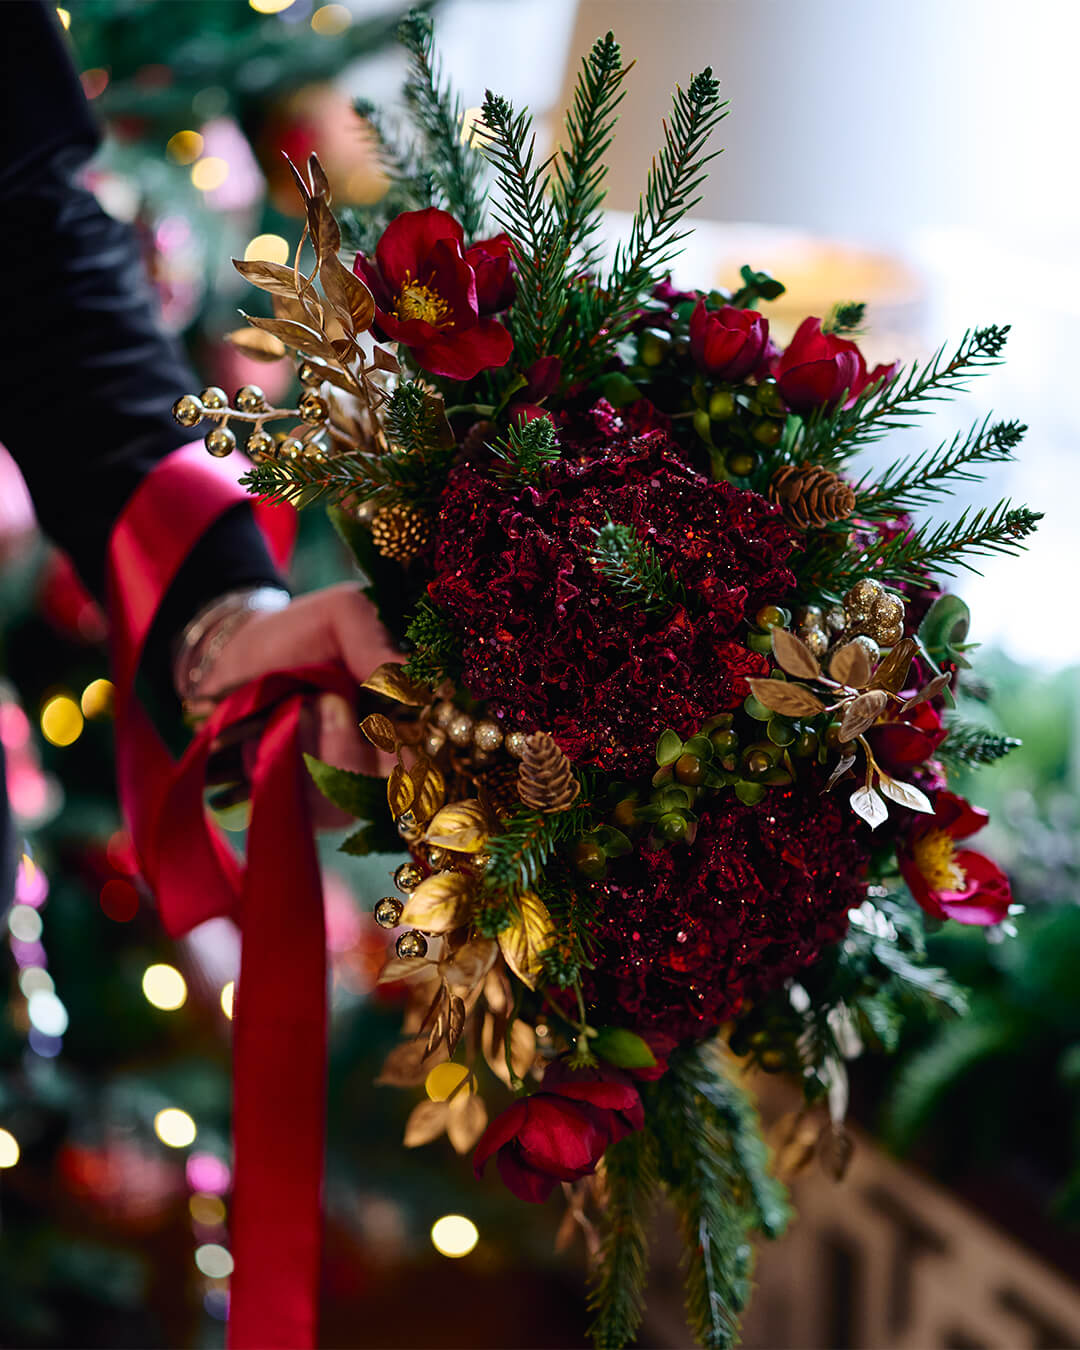
Step by Step
Preparations
• Trim the spruce branches, gold branches, Christmas roses, and eucalyptus into smaller pieces.
Build the Bouquet
• Gather the hydrangeas in your hand to form a round “ball,” with one hydrangea slightly higher in the center.
• Insert the smaller branches all around, filling gaps and spaces so the bouquet looks even from every angle.
• Place the green berries in multiple spots throughout the bouquet for balance.
• Let the spruce and gold-colored branches peek out from underneath to create a full and luxurious look.
Secure & Shape
• Tie the bouquet tightly with a cable tie or floral wire so it keeps its shape.
• Trim the stems to the same length so they fit the pot.
• For a lovely finishing touch, tie a decorative ribbon around the binding point.
Products pictured
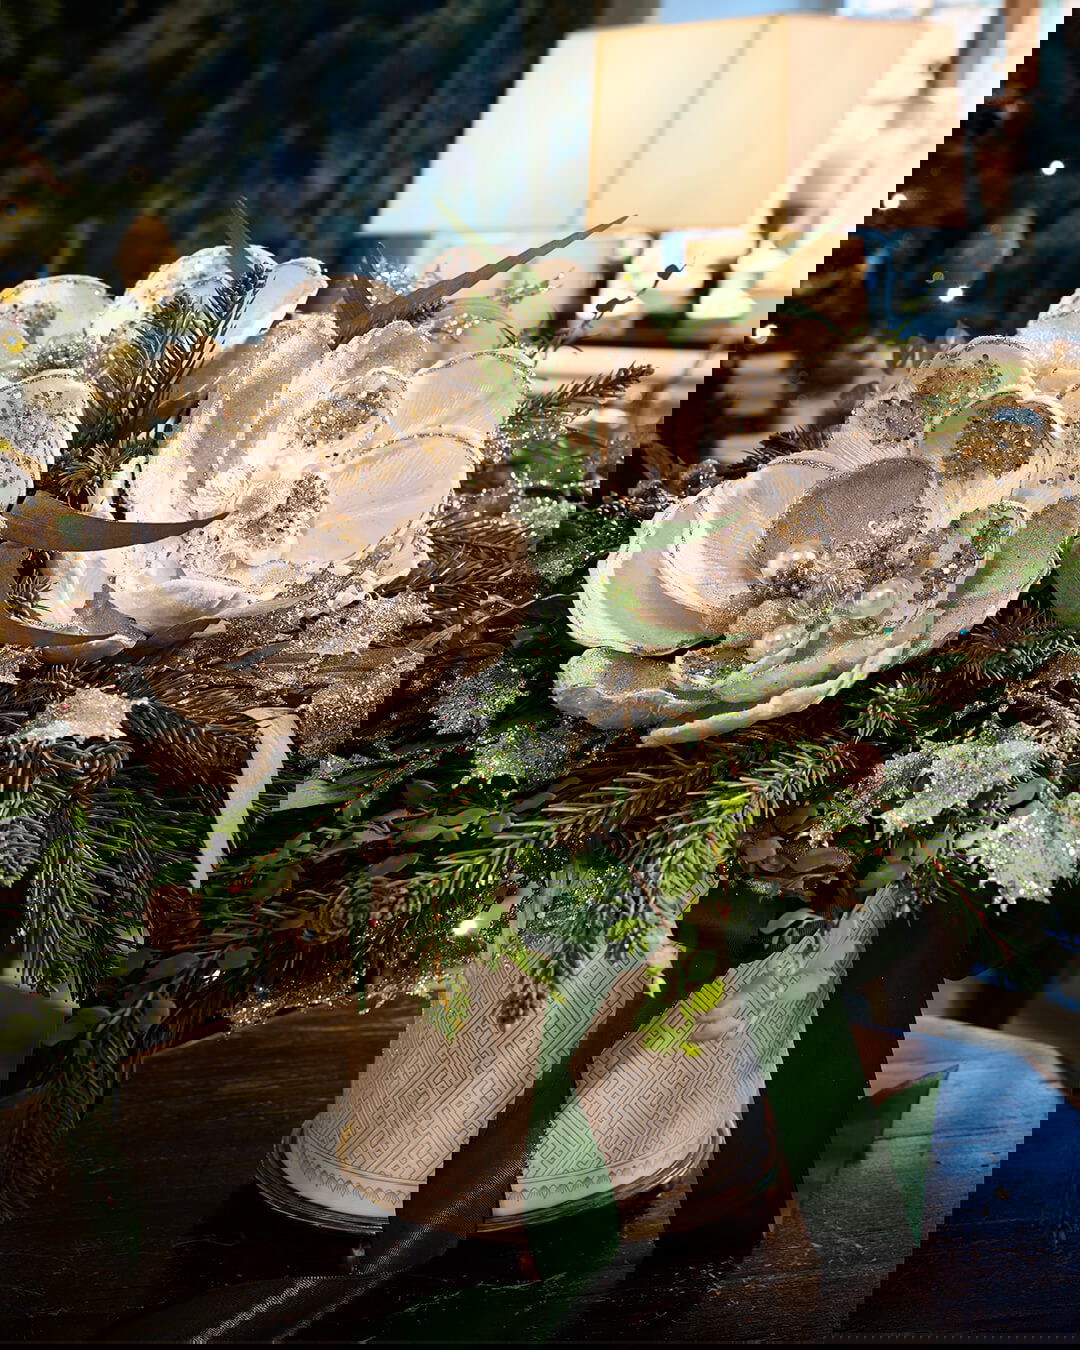
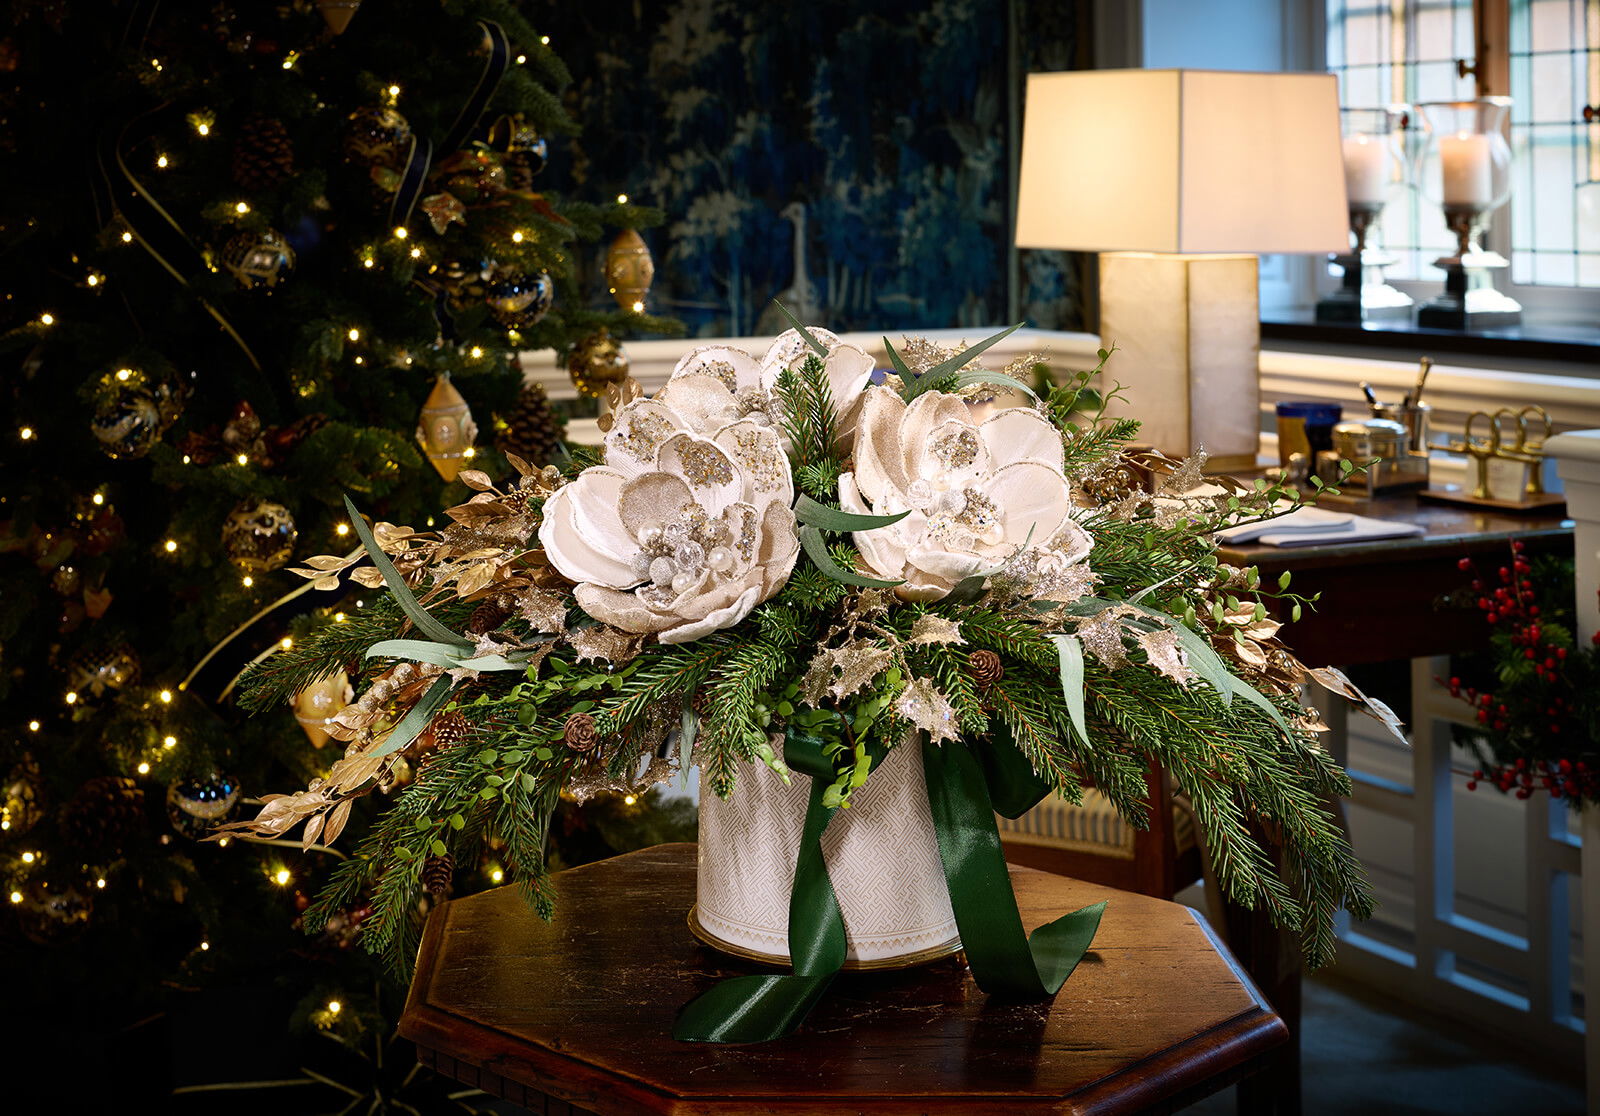
Step by Step
• Cut a piece of foam and press it firmly into the pot as the base.
• Trim the stems of all branches and flowers — leave just enough length for them to anchor securely in the foam.
Build the Arrangement
• Start by placing the spruce branches and magnolia flowers to create a beautiful base shape.
• Fill in with the remaining branches, covering all gaps.
• Let some branches cascade slightly over the edge for a softer, more natural look.
Finishing Touch
• Tie a beautiful ribbon around the pot and finish with a bow.
Products pictured
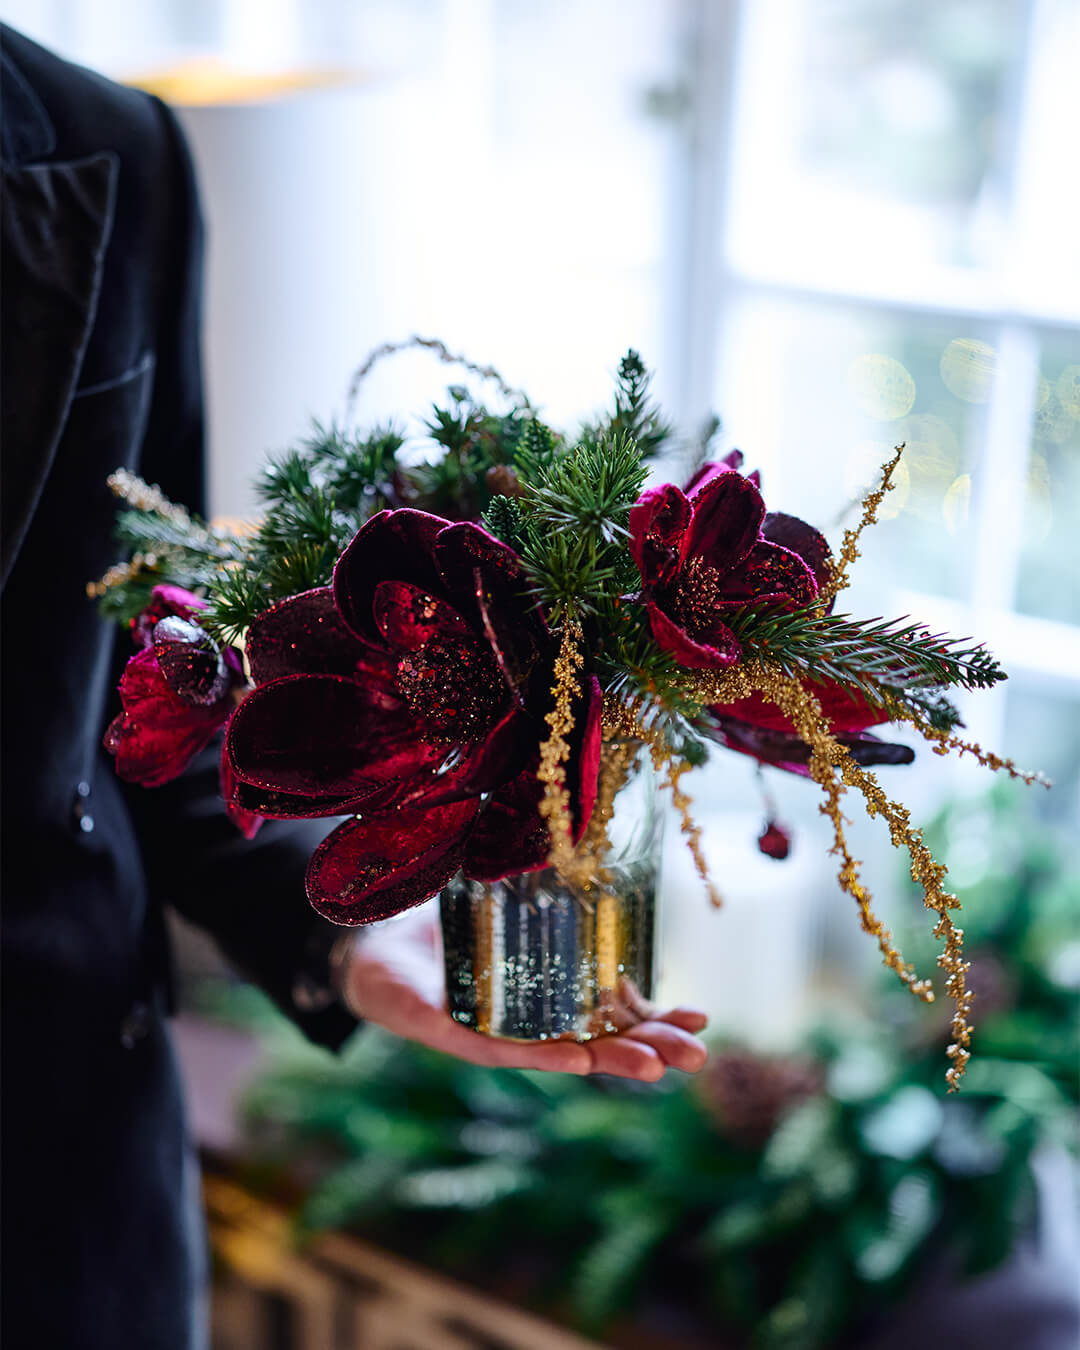
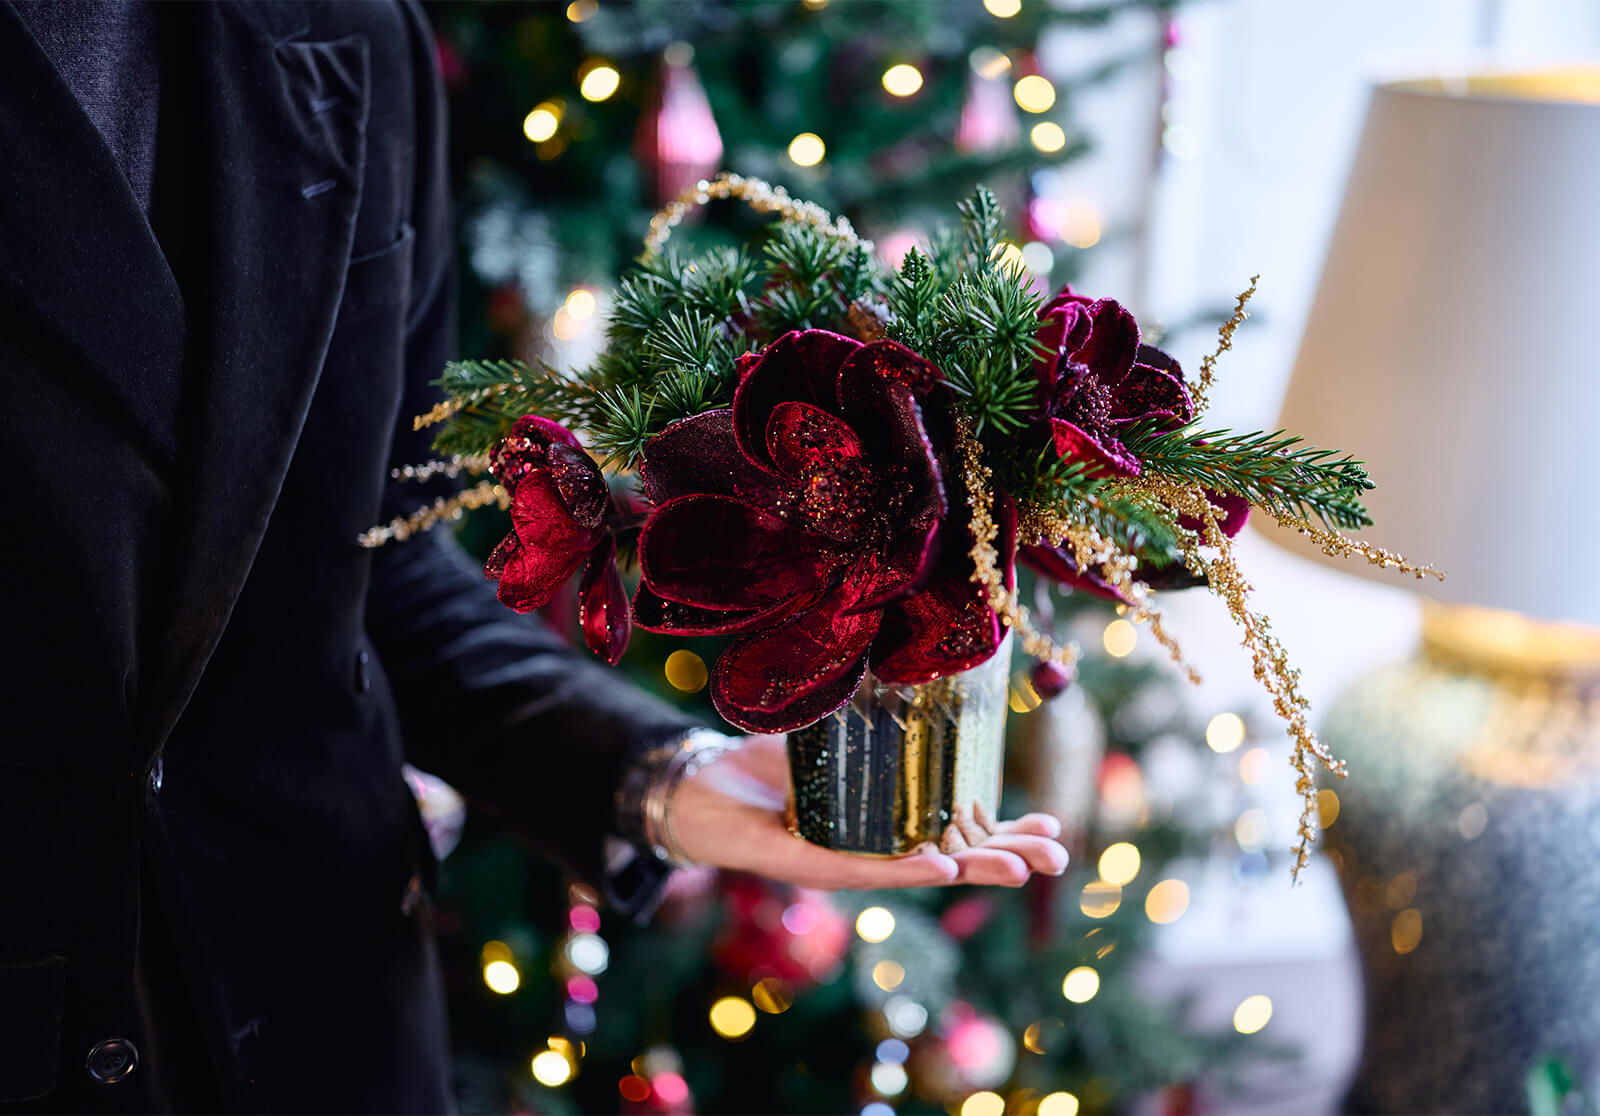
Step by Step
Preparations
• Trim all branches into smaller pieces.
Build the Bouquet
• Start by holding the three magnolias together in your hand.
• Add greenery, golden accents, and smaller flowers around them until the bouquet feels full and well-balanced.
Secure & Shape
• Tie the bouquet tightly with a cable tie or floral wire.
• Trim the stems to the same length and adjust them to fit your vase.
NEWPORT CHRISTMAS SHOP
Popular Christmas Collections
Here we’ve gathered our most beloved Christmas collections, filled with enchanting decorations, timeless classics, and sparkling details. Let yourself be inspired and discover everything you need to create true Christmas magic at home.